A brief rant.
I find a lot of recipes out there in the blogosphere. And they tend to follow, what is to me, a very annoying formula.
Name of recipe for title. LONG story about their life and people I do not know or care about. Eventually, after much scrolling, recipe. Ads. Sigh. Drives me bananas. Want to know what else drives me bananas? Of course you don't. If you're here, you want to know about my recipe, which barely qualifies as a recipe because if only requires two ingredients.
Ingredients.
1 ripe mango, about a cup and a half of mango flesh?
1/2 can of full cream coconut milk, Whole 30 compliant if that's your thing. Unsweetened. All the sweetness you need is in the ripe mango.
I used to be a dedicated mango-hedgehog maker, but then I saw this video of a guy making a mango flower on a stick. Now I just (wash my hands), peel the mango, and cut off the flesh in great big chunks, or sloppily eat it over the sink. Because I am a man and alone a lot of the time, so I can get away with this indulgence.
Cut the mango flesh into a food processor, and process it into a pulp. Add half a can of coconut cream and mix it all up. Pour into Popsicle molds. My Popsicle molds accommodate about a cup and a third of Popsicle guts for the four treats. Place in freezer and be patient. Wait at least 3 hours, or you might make this face
:(
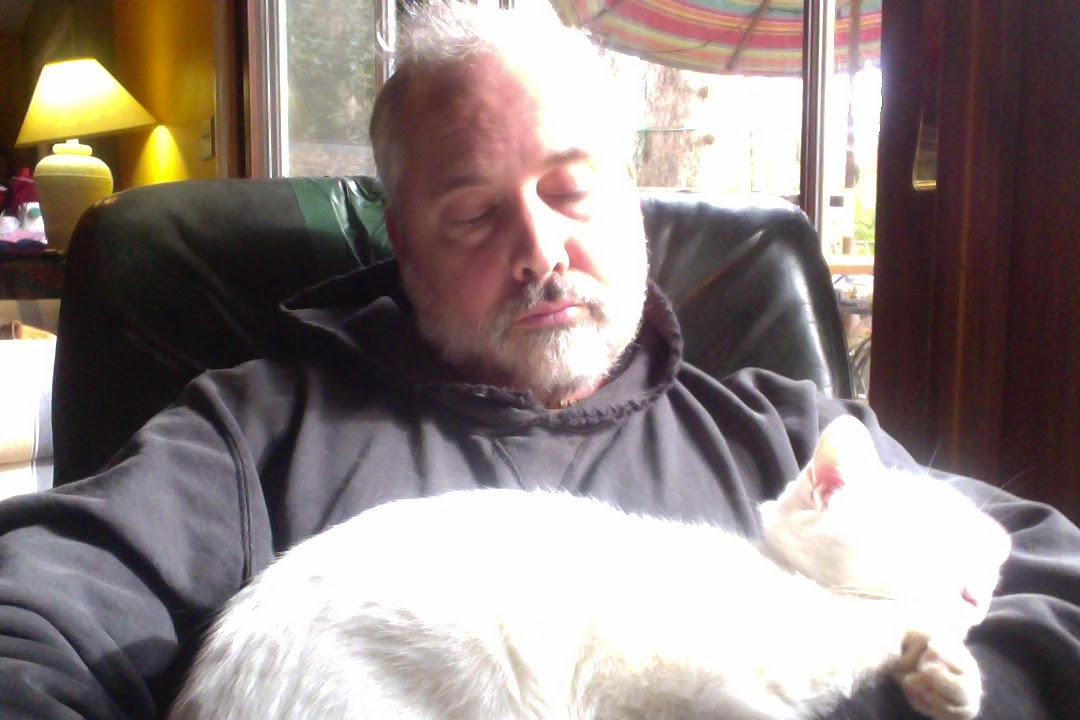
That's a self portrait of me with a popsicle stick in my hand with no popsicle because I wasn't patient. So if you'd rather look like this
:)
Be patient. Not to get preachy but that really helps with a lot of things in life, at least that's been my experience.
Friday, July 22, 2016
Tuesday, June 16, 2015
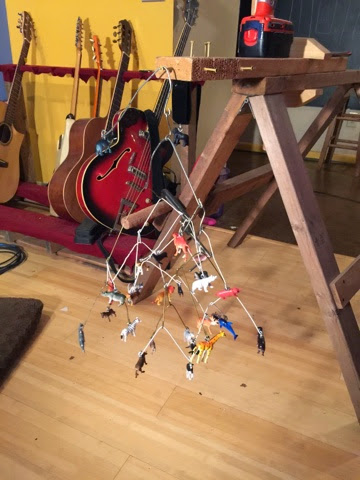
Mammal phylogeny mobile
Another project I've been meaning to get to involves using plastic animals. This time, it's a mobile. This mobile is meant to demonstrate a biological concept, the phylogenetic tree.
Darwin himself came up with the first phylogenetic tree, as a way of modeling descent with modification.

We can apply this descent with modification model to any taxon (named group of organisms). For my first phylogeny mobile, I chose mammals. I'm a big fan of making things with plastic animals. I have a lot of animals I spray-painted gold, for example, which I've used as participation tokens in one of the biology classes I've taught.

Monday, February 2, 2015
Bling bling football
This is a craft idea that's been in process for a long time. My ultimate vision is to make a disco ball out of a football. I've tried to find a rigid plastic football, so I don't have to worry about inflation. I couldn't find one, so I ended up buying a cheap inflatable football, which I spraypainted black. As for the mirrored pieces, I couldn't find anything acceptable within my price range. The next best thing I could find was strips of bling. I thought I might be able to glue the strips, 4 or 5 rows across, onto the football, but that didn't work so well either, so I cut the wide strips into thin strips.
 Then came the hot glue. This took a lot longer than I expected.
 I used a bamboo skewer to tap the bling into place.
 I had to leave a small gap for the inflation hole.
 Et voila!

Saturday, January 31, 2015
My crafting influences
I just had an epiphany about my craftiness and who my inspirations are. They are: the A-Team and MacGuyver. Did the producers of these shows even fathom that one day, their viewers might be inspired to start an up cycling revolution? I have to wonder.
Sunday, November 30, 2014
Orbs for inspiration
My dishwasher has been on the fritz for a while. This means a lot of handwashing of dishes, as well as a lot of letting dishes pile up in the sink. Since I end up spending a lot of time at the sink, and haven't quite figured out how to fix the dishwasher, I've decided the view out my window needs some arting up. There's a photinia tree out there, and I've been trying to keep its undersides trimmed up. I've also come into some steel strapping. I had a vision to make these orbs and found the hardest part finding a way to drill through the steel. I discovered that Mike's Merchandise had some hard metal bits, and those seem to do the trick. I cut the strips to the size I wanted, and made orbs of a few different sizes, held together with pop rivets. One key is to clamp the pieces together and drill through both. A little bit of spray paint in bright colors, and a little fishing line to hang them in an unobtrusive way, and now I have something pretty to look at while I wash dishes.
 |
| The view out my kitchen window. You can't really see the orbs out there but they're there |
 |
| Here they are, with my chickens. I use that pallet for a step ladder into the canopy. |
 |
| Orange |
 |
| Yellow-green |
 |
| Green |
 |
| A little oblong red one |
 |
| And a big purple one |
Saturday, November 29, 2014
Cat fez
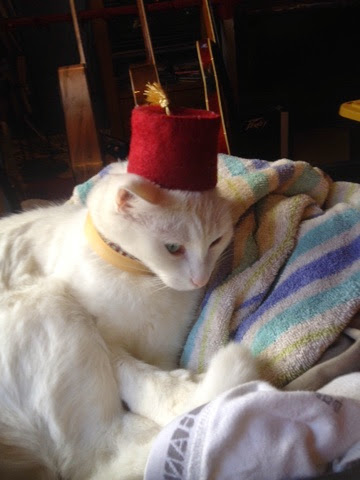 |
| Timey-wimey kitty witty. Lounging in a pile of clean laundry. |
Has this ever happened to you? A beloved companion sleeps in your lap. You look down at her and make this realization:
 |
| What this sleeping cat needs is a fez. |
You will need:
Supplies
A paper coffee cup
A scrap of felt in the color of your preference (I used a traditional maroon)
A small tassel, or some yarn to make your own tassel.
A few scraps of paper or cardboard.
A small bit of stretchy material, unless your cat likes to wear hats. It should match your cat, if possible. (I had some white stuff around, which matches my cat beautifully)
Equipment:
Ruler
Pen, pencil, or marker
Scissors
A hot glue gun
Darning needle to attach tassel
Instructions.
Get yourself a cup of coffee, tea or whatever. It's really the paper cup that you want. If you get a styrofoam cup, it still could work if you use school glue instead of hot glue. Your gratification will be delayed, though ):
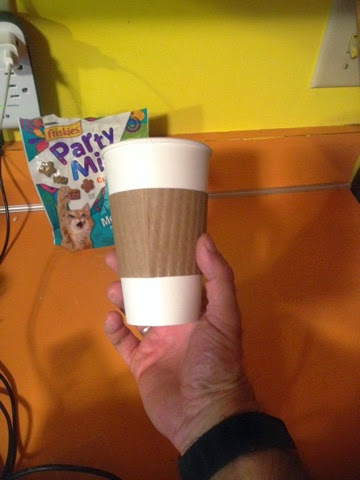 |
| Ah, caffeine. Empty and wash and dry it before proceeding. |
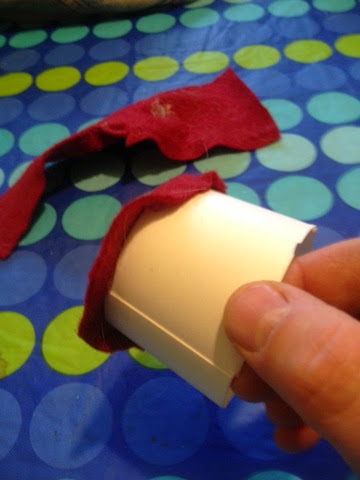
Remove the zarf (the paper sleeve, yes, that's what it's called).
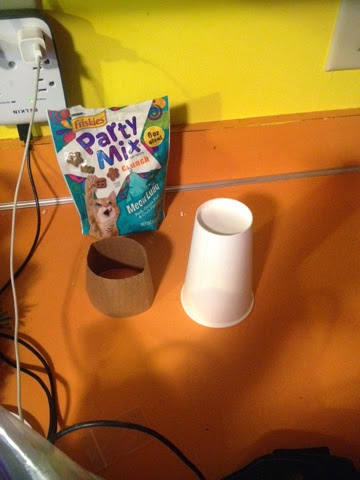 |
| The Party Mix is to reward the cat's patience. |
Measure the depth of the hat and mark where you wish to cut. I made mine about 2".
 | |
| 2 inches seems like a good size for a cat fez. |
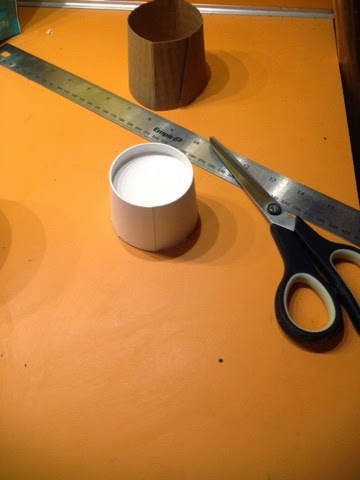 |
| Cut it out with the scissors. |
Now get the felt out, and make sure it covers the top of your fez form (coffee cup) with a slight overlap.
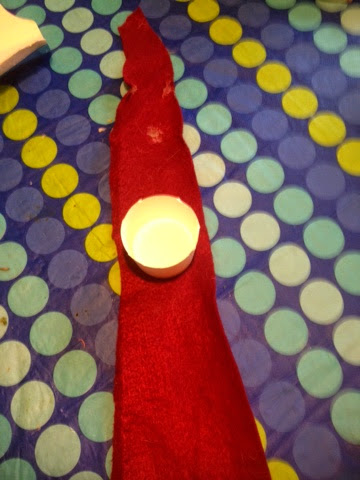 |
| Looking good! |
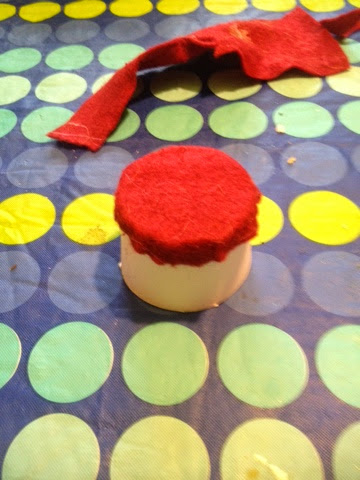
Add a bead of hot glue to the edge of the form and press down onto the felt. Trim away the excess so you have a square slightly larger than the top.
 |
| Bead of hot glue at the top |
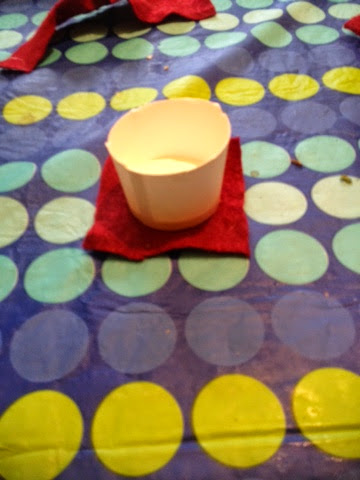 |
| Press the cup onto the felt. |
 | |
| Glued to the felt and trimmed. |
Now work you're way around the top, gluing down that edge.
 | |||
| Hot glue, hot glue. |
 |
| Ready for the next step |
Now you can start gluing the edges to the top. Line up the edge of the felt with the top. Start gluing the top and edge and work your way around.
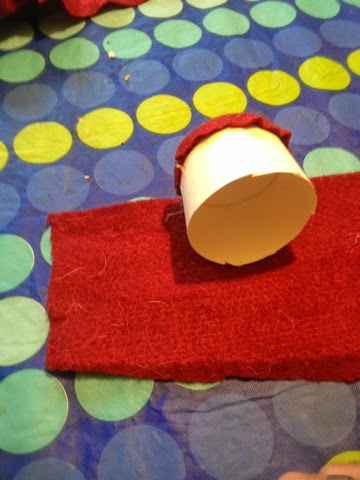 |
| Work it around, glue, keep working it. |
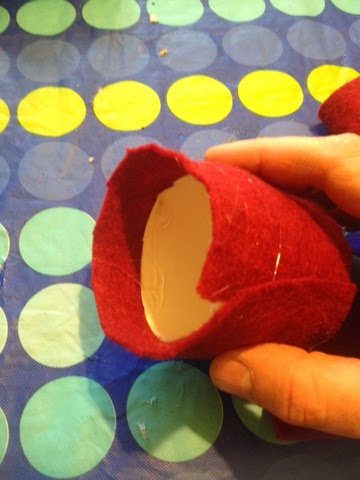
And then,
 |
| Rolling it up and gluing all the way. |
Keep working until you get all the way around.
 |
| Trim the excess to leave a margin of about a half inch |
 |
| It's starting to look fezzy, isn't it? |
 |
| It's time to add the tassel. |
 |
| A dab will do ya! |
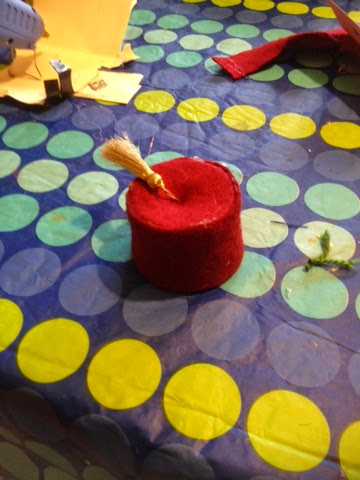 |
| It's basically a fez now. |
The last thing you need to do is to add the stretchy band. This will help keep the hat on kitteh's head. Don't make it too small, you don't want to moosh kitteh's bwain. Use hot glue/paper scraps.
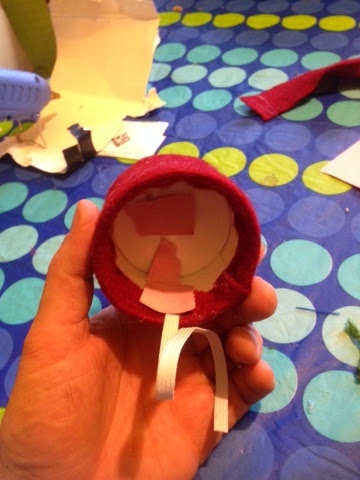 |
| See how the scraps of paper help moosh the glue down? |
Et voila!
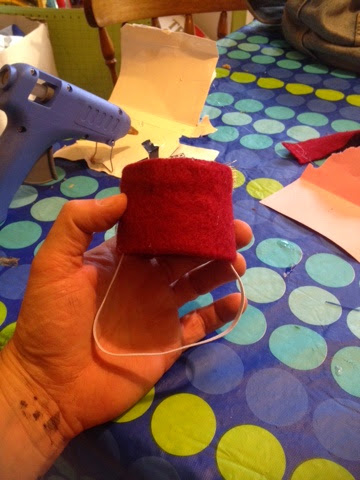 |
| So excited I might pee at this point. |
Only thing left to do is try it on. Please don't hurt your cat when you do this, and reward her/him with treats. Most cats are not really fans of wearing little hats.
 |
| So sexy. |
Really, this is an easy project that took me much less time to execute than to blog about. I will post about how to make your own human-sized fez soon. ;)
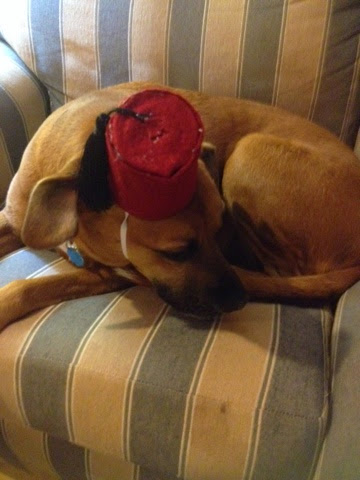
Addendum: What do you do with the other half of the paper cup? Dog fez.
 |
| On the right, cat fez. On the left, a slightly larger dog fez |
 |
| Isn't she lovely? Don't be shy! |
 | |
| So purty! |
Friday, November 28, 2014
Sea glass backsplash
My home, for what it's worth, was built in 1978. The stove that was in the house when we bought it was, I'm pretty sure, original. It had a microwave that had dials and a flip clock. The stove had developed several issues: dodgy burners, inaccurate knobs that were illegible, the oven which would select whatever temperature it wished to bake. So I had a modest epiphany that it was actually possible to BUY A NEW STOVE. Yes, believe it or not it took me about two years to make this realization, because my mind is pretty well set on repairing, upcycling, or just making whatever it is I need in my life, as well as stuff that I don't need but just find cool or interesting.
So, I bought a new stove/oven. Which has a glass top and a great big oven, but then I didn't have a microwave for a while, and I had a big ugly space where the old ugly microwave used to be. There was some of the old, original wallpaper underneath, which was earthtoney (blerg) and uninspiring (to me).
Then, my luddite self succumbed to my modern self, and I got a new microwave to go over the stove. It sat in the kitchen for a while before I decided I needed to install it. One concern on my mind was what to do with that little bit of wall space under the microwave and over the stove. My mind said "backsplash". But what to put there? I was wary of having to cut tile or glass for such a small space. Then two wonderful women inspired me. First, my friend Christina said "Why don't you use some of that sea glass you've been making?" Why don't I indeed? Another modest epiphany.
Then, one of my dear Peace Corps friends, Nicole, posted a tutorial on her blog on how to use river rock for a very similar project. So following Nicole's instructions, these are the results:
So, I bought a new stove/oven. Which has a glass top and a great big oven, but then I didn't have a microwave for a while, and I had a big ugly space where the old ugly microwave used to be. There was some of the old, original wallpaper underneath, which was earthtoney (blerg) and uninspiring (to me).
Then, my luddite self succumbed to my modern self, and I got a new microwave to go over the stove. It sat in the kitchen for a while before I decided I needed to install it. One concern on my mind was what to do with that little bit of wall space under the microwave and over the stove. My mind said "backsplash". But what to put there? I was wary of having to cut tile or glass for such a small space. Then two wonderful women inspired me. First, my friend Christina said "Why don't you use some of that sea glass you've been making?" Why don't I indeed? Another modest epiphany.
 |
| This part took me quite a while. I don't know how long but over an hour I'm sure. |
 |
| Here it is after setting all the glass tiles, but before grouting. Break time |
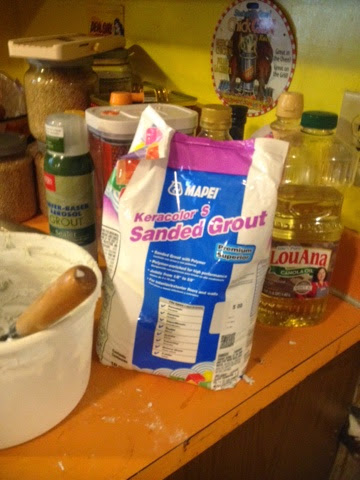 |
| After the thin-set mortar, the grout. I went with white. |
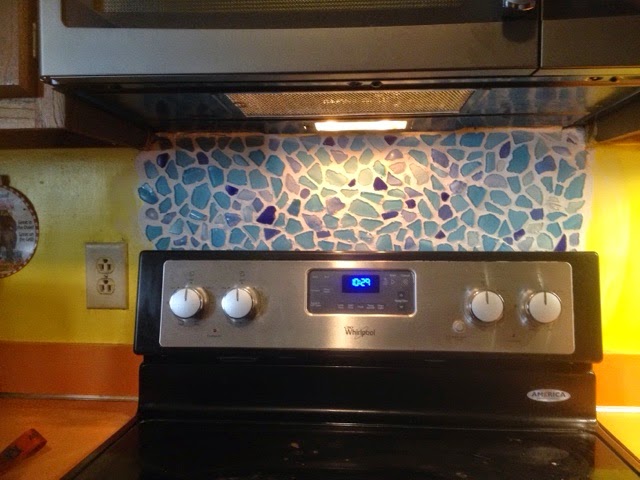 |
| Ta-daa! Now I will wait a week to seal it and caulk the edges. |
Subscribe to:
Comments (Atom)