Showing posts with label upcycled. Show all posts

Saturday, November 29, 2014

Cat fez


Timey-wimey kitty witty.  Lounging in a pile of clean laundry.

Has this ever happened to you?   A beloved companion sleeps in your lap.  You look down at her and make this realization:
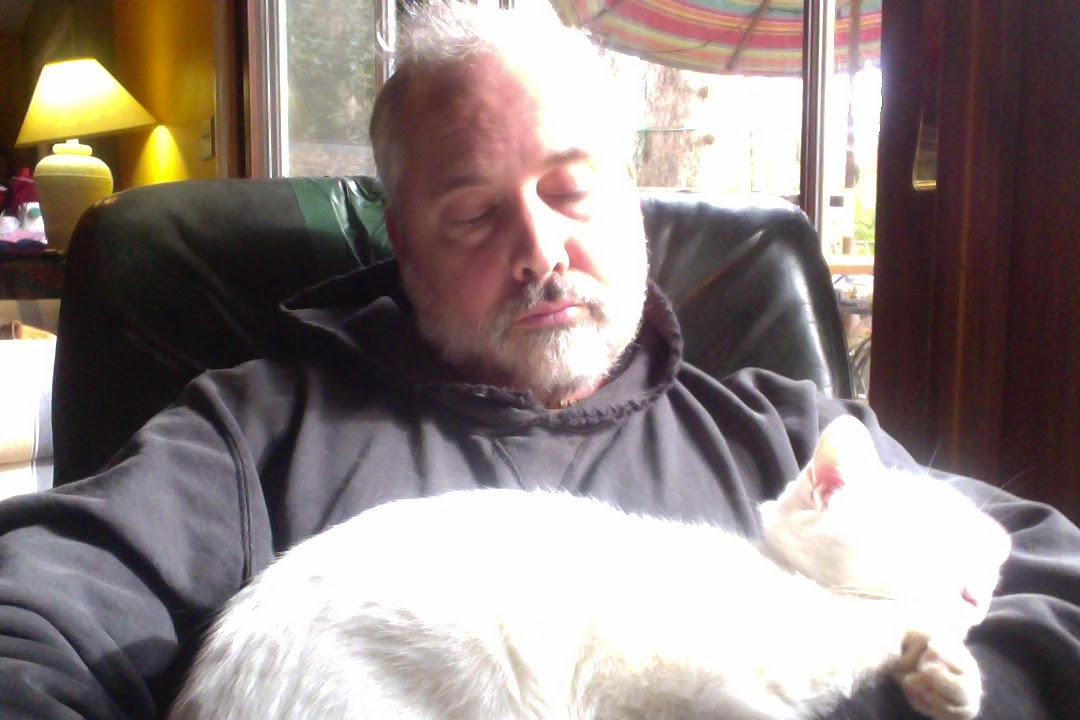
What this sleeping cat needs is a fez.
You realize that such an impulsive cat accessory may not be imminently available.  But the internet doth provide. However, if you don't want to wait for shipping from Australia, a reasonably priced altenative is available if you are reasonably crafty.

You will need:
Supplies
A paper coffee cup
A scrap of felt in the color of your preference (I used a traditional maroon)
A small tassel, or some yarn to make your own tassel.
A few scraps of paper or cardboard.
A small bit of stretchy material, unless your cat likes to wear hats.  It should match your cat, if possible. (I had some white stuff around, which matches my cat beautifully)

Equipment:
Ruler
Pen, pencil, or marker
Scissors
A hot glue gun
Darning needle to attach tassel

Instructions.
Get yourself a cup of coffee, tea or whatever.  It's really the paper cup that you want.  If you get a styrofoam cup, it still could work if you use school glue instead of hot glue.  Your gratification will be delayed, though ):
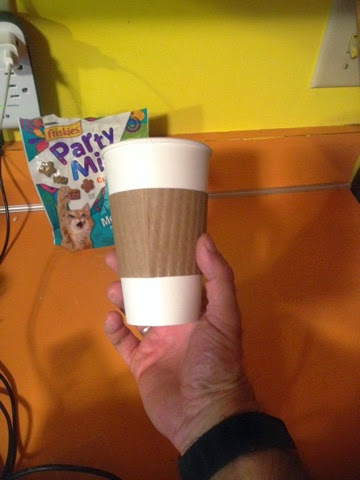
Ah, caffeine.  Empty and wash and dry it before proceeding.

Remove the zarf (the paper sleeve, yes, that's what it's called).
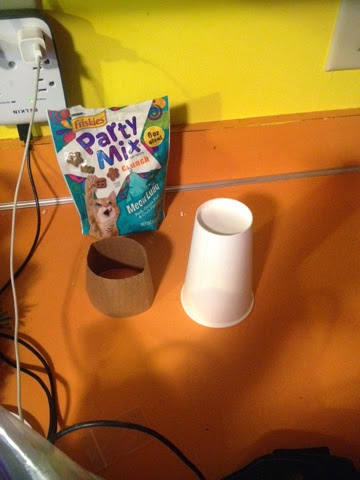
The Party Mix is to reward the cat's patience.
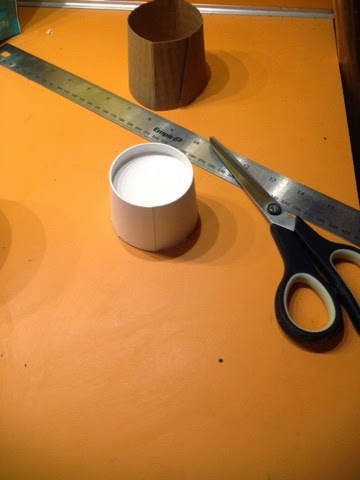
Measure the depth of the hat and mark where you wish to cut.  I made mine about 2".  
2 inches seems like a good size for a cat fez.
Cut it out with the scissors.
Now get the felt out, and make sure it covers the top of your fez form (coffee cup) with a slight overlap. 
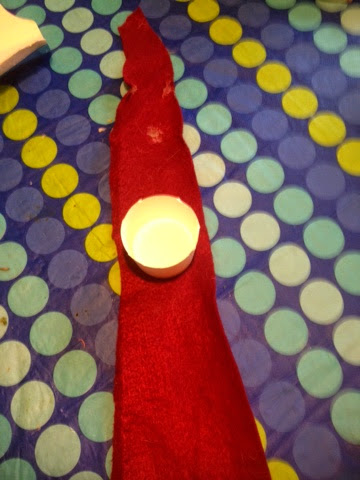
Looking good!
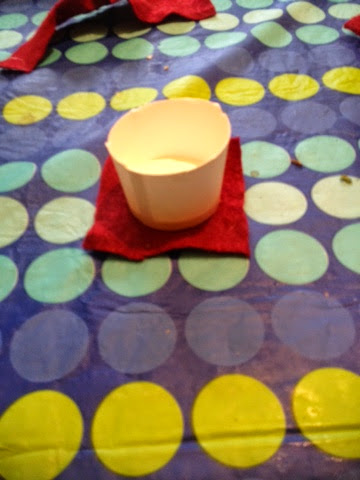
Add a bead of hot glue to the edge of the form and press down onto the felt.  Trim away the excess so you have a square slightly larger than the top.
Bead of hot glue at the top
Press the cup onto the felt.

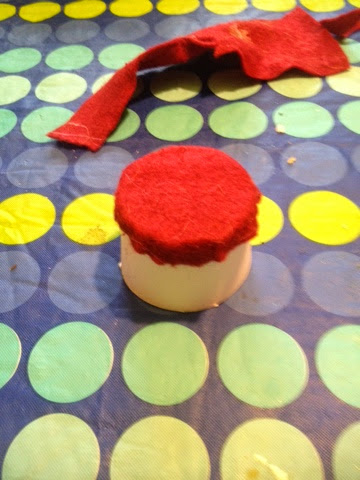
Now trim away the excess so it make a circle about a 1/4 to 1/2 inch larger than the top of the cup.

Glued to the felt and trimmed.

Now work you're way around the top, gluing down that edge.
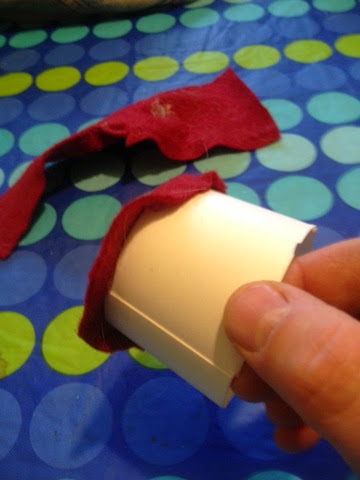
Hot glue, hot glue.


Ready for the next step
Now you can start gluing the edges to the top. Line up the edge of the felt with the top.  Start gluing the top and edge and work your way around.
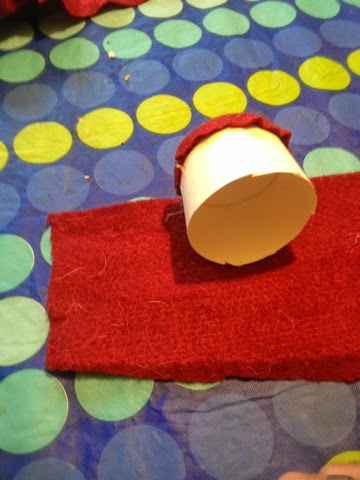
Work it around, glue, keep working it.

And then,
Rolling it up and gluing all the way.

Keep working until you get all the way around.
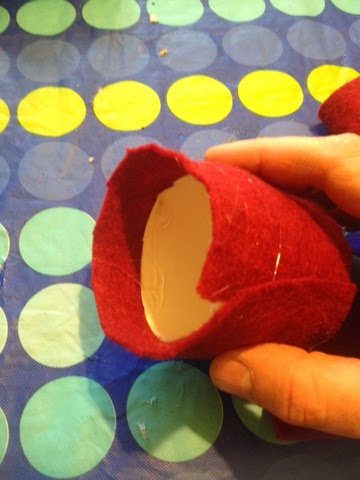

Trim the excess to leave a margin of about a half inch
 Now glue the edge down to the inside of the form
It's starting to look fezzy, isn't it?
I happened to have a nice gold tassel laying around. You can make a yarn tassel, or leave it with no tassel.  I'm not gonna tell you how to live your life. 

It's time to add the tassel.
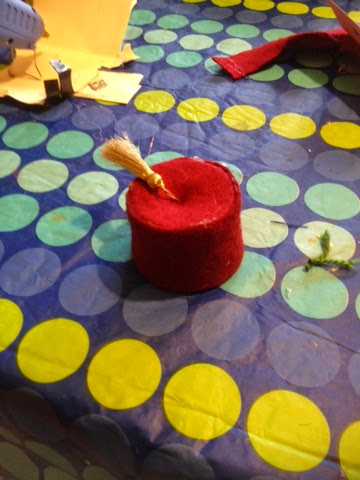
Poke a hole through the center of the lid to thread the tassel through.  Wrassle that tassel.  That's what I had to do.  Once it's through, you can attach it with a dab of hot glue.  I used a small scrap of construction paper to smash it all together.
A dab will do ya!
It's basically a fez now.

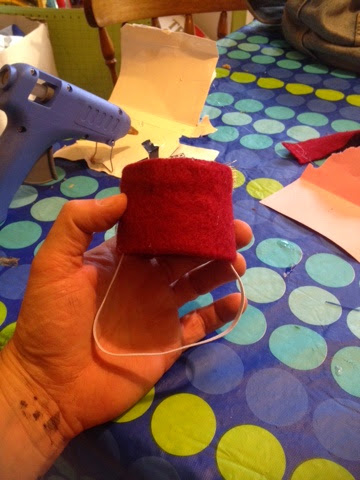
The last thing you need to do is to add the stretchy band. This will help keep the hat on kitteh's head. Don't make it too small, you don't want to moosh kitteh's bwain. Use hot glue/paper scraps.
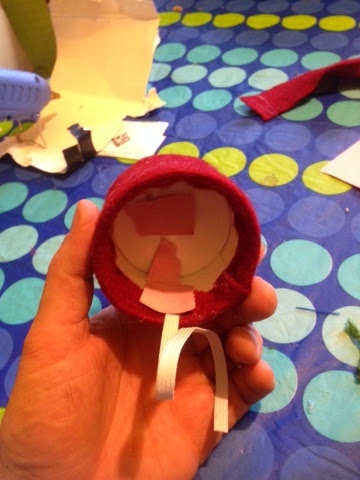
See how the scraps of paper help moosh the glue down?


Et voila!

So excited I might pee at this point.

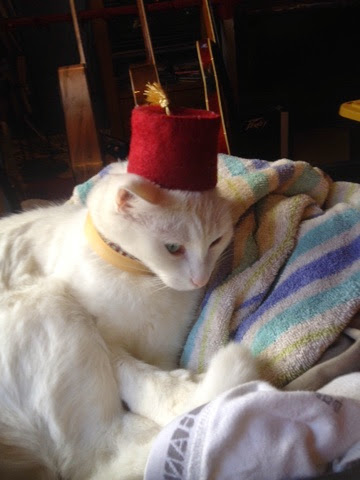
Only thing left to do is try it on.  Please don't hurt your cat when you do this, and reward her/him with treats.  Most cats are not really fans of wearing little hats. 


So sexy.

Really, this is an easy project that took me much less time to execute than to blog about.  I will post about how to make your own human-sized fez soon. ;)
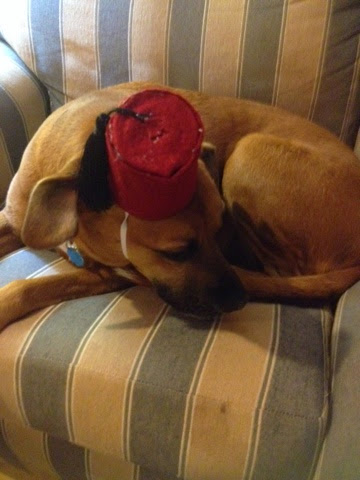
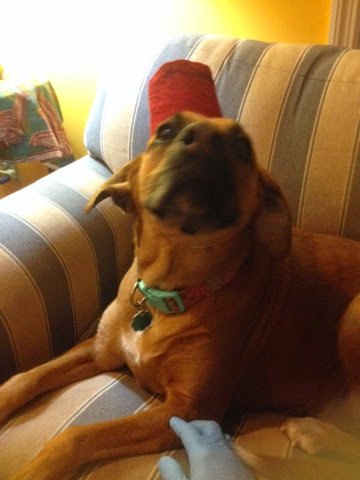
Addendum:  What do you do with the other half of the paper cup?  Dog fez. 
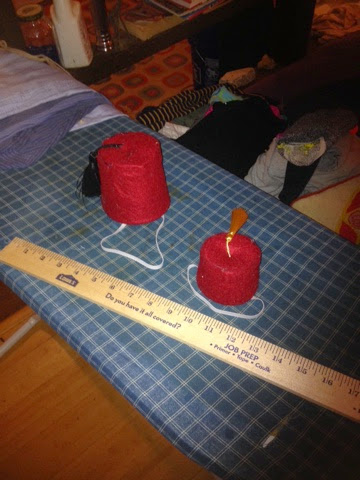
On the right, cat fez.  On the left, a slightly larger dog fez

Isn't she lovely?  Don't be shy!

So purty!

Thursday, November 6, 2014

Upcycled unicorn

I went to the Goodvation Willarmy the other day and some person with a unicron fetish had apparently dropped off a bunch of stuff.  I bought the item on the left and modified it to say "I just have to believe in myself". 

Sunday, December 29, 2013

More lanterns

I've been busy crafting during this Xmas season and break from academic duties.  This year I've been giving out a lot of my can lanterns, and making a bunch more.  I've moved my can stamping rig inside, which consists of a sawhorse with a dowel clamped to it, and a desk light.  To improve my precision and save my fingers, I've taken to keeping the nail I stamp with in a vise-grip.

I really like using painted cans, from exotic foodstuffs like El Pato sauces, coconut milk and other Asian delicacies. 
Some tasty sauce in a beautiful little package
All lit up

I've also tried going back to working with stencils, starting with one of my favorite subjects, giant monsters. 
Godzilla and King Ghidorah battle at the Cafe du Monde
I have a couple of Cafe du Monde coffee and chicory cans laying around,  which seem to lend themselves to some monster mayhem, using stencils and the painting on the can.

Godzilla descends upon the French Quarter

Sunday, July 14, 2013

Labor of love lamp


I started on this lamp a long time ago. I can't remember much to say about the rye whiskey, I haven't had a drink in a while.  I did like the bottle, and I drilled a hole large enough for the wire with a glass-drilling bit near the base. I used a lamp fixture to complete the first version of the lamp, but it was unstable, and the brown cord running through was unaesthetic. 
So I had the idea to fill the bottle with glass bits, and decided to use some of the blue glass I'd been storing for such an occasion. At first I tried smashing it up and adding the shards, but it seemed like the sharp glass was too dangerous. Then I decided to try and rig up a rock tumbler. But then a friend of mine had one, so I borrowed it and set about the task of making artificial sea glass. About 12 hours was enough to round the sharp edges, but I had to make several batches to fill the bottle. 

Thursday, June 6, 2013

Pallet wood adirondack chair

With a few of my new toys, sawzall and belt sander, I was able to knock out this adirondack chair in a couple of days. I think I have enough leftover wood to make another.

Tuesday, May 14, 2013

Wind Chimes

I saw this idea on Pinterest, of course. I had been scavenging the bins at the local thrift stores for spoons, forks, and knives. As it turns out, forks were the hardest to find, and butter knives are available in great abundance. The ecologist in me is always looking into these patterns of abundance and distribution. So I had a bear of a time getting the right tool to drill through stainless steel. None of the Dremel bits I could find were doing it. I tried a titanium bit and a cordless drill, and finally came upo. A cobalt bit that managed, though it got worn down quickly. Mi do not have a drill press in my life, obviously. So these wind chimes are what I came up with, using bailing wire to hold them together. I will probably come up with a better, more aesthetic design, but for now they function, even if they don't peal like the bells of St John's.


Monday, March 18, 2013

Spraypainting things gold

A very satisfying pastime. Little plastic things look a lot fancier painted gold. I always think of Goldfinger when I'm doing it.

Sunday, March 3, 2013

Can lanterns

I recently got a Dremel and have been having lots of fun playing with it. But I've found with these lanterns, a hammer and nail is the best way to go. The cans are painted so I just use the painting on the outside as a guide.

Instead of freezing water in the cans to keep from denting them, I use a section of dowel like an anvil.